Master class on testoplasty. Craft "Christmas clock"
The master class is designed for older children preschool age, teachers, parents.
Purpose: This salt dough craft can be used as a New Year's gift or group decoration kindergarten for the New Year's holiday.
Target: to develop the aesthetic feelings of children, emotional and value orientations, to introduce children to artistic culture.
Tasks:
· Develop children's independence and initiative, friendships and cooperation with peers and adults.
Develop spatial and figurative thinking.
· To form the skill to carefully work with salt dough.
Develop the ability to assemble a whole from parts
· To cultivate a culture of communication, the desire to bring the product to the desired image.
You will need: For the dough (salt 1 tbsp, flour 2 tbsp, water by eye, 1 tbsp sunflower oil); foil, stack, paint, brush, non-spill glass.
New Year's clock
The alarm rings twelve times
Again New Year came
He boldly opened the door to us
Entering the house without asking
And we will feel sad again in our hearts
We will remember the old year
We will remember the old chimes
And the old sky
Or maybe we want
Bring back that year
in which I first saw
That gray sky
But a year has passed
And he will never come back
So we will meet friends with fun
Your new year and new hour.
Step by step execution process
So, you can make such an original composition from salt dough with a clock. It just takes a little effort. First, prepare the salt dough for further modeling. The recipe is as follows: 1 glass of salt, 2 glasses of flour, 1 glass of water and 1 tablespoon of sunflower oil. Next, knead the dough, bring it to the desired consistency so that it does not stick to your hands, and begin work.
1. Take a piece of foil and put it on a baking sheet. We roll out a layer of dough and cut out the base of the house.

2. We determine a place for the clock and begin to roll out flagella 1 cm thick and lay them out in the form of logs. Lubricate one side with water for stickiness. All excess must be carefully cut with a knife.

3. When the whole house is covered with sausage, determine the window and the roof with a flagellum. For the roof, roll out the tourniquet and flatten it a little.

4. Next, move on to the figures. As usual, the house has its tenants. You can make anyone. I made a snowman and a Christmas tree. I also depicted icicles along the edge of the roof. In the window I made a watch with numbers and arrows.
Most of the New Year decorations are within the power of not only needlewomen, but even small children: many New Year's salt dough crafts are created using cookie cutters. Such "cookies" can be hung on a Christmas tree or made into garlands.
Another plus of cookies is their safety: even curious babies or puppies will not harm themselves.
Commemorative prints
To make the most simple New Year's crafts from salt dough, only hands are needed. Print your palm on the dough layer, and when it dries, paint it like a Christmas tree. You can collect commemorative handprints of the whole family.
A souvenir version of the craft is a Christmas tree with fingerprints. The prints are painted in different colors, the thread of the garland is completed, and such crafts can already be given to the closest people.
Salt dough Christmas decorations
New Year's salty "cookies" can be molded from colored dough, or you can paint after drying with gouache or glitter sequins. For example, as in these photos.


If you are familiar with decoupage, use your skills to decorate the base cookie with beautiful Christmas scenes.
Salt dough crafts made for the New Year can be decorated with any means at hand - fragrant spices, beans or cereals(the birds outside the window will be happy with such a gift) or even pasta(they are good for imitating the curly wool of a lamb).


Unexpectedly graceful and airy look snowflakes and Christmas trees made of salt dough, painted markers. Such snowflakes can be collected into garlands or used as Christmas decorations.


To make salt dough snowflake crafts shine like real ones on New Year's Eve, before coloring them, you can hprimed with silver paint. Another technique that will help make the salt dough more airy is to cut windows in the middle of the star from the dough, also in the shape of stars.


You can quickly paint Christmas decorations from salt dough using stamps- cut them out of eraser or use decorations, twigs, toys as stamps ...


solar garland
Simple New Year's fabulous beauty - a garland of snowflakes with transparent centers. To make it, you need to fill the middle with plastic beads and bake the craft. Of course, the whole house will smell like burnt plastic, but the result will also shine in the sun.


If you want to avoid plastic stink, put caramel in the middle of each snowflake. When the sugar melts, you will see a colored window - or brown if you overexpose the snowflakes a little.
Friends, are you ready for the new year? And the holiday is just around the corner. And this is an occasion to work fruitfully with your little ones. What do I suggest? Today we will talk about how and what to make New Year's crafts from salt dough. A prerequisite is that we will create with our kids. We use them in as many processes as possible. In fact, the material is safe and it is easy to wash, and therefore we will allow the crumbs to dirty the hands to the fullest.


Do you know what will add value to these activities? The fact that the child will feel that all this is a very important thing! He will try when he finds out that his crafts will decorate the Christmas tree: as toys (we will hang some of them on the tree) or become part of the festive composition.
Let's decide. Remember? We have a main focus - New Year's theme. There is a basic material - salt dough. And in the kitchen of any hostess there is essential tool. And our children have a good helper - we! All that was left was to get down to business.


Ingredients and Tools We'll Need
All we need is:
- Salt;
- Flour;
- Water;
- A little vegetable oil.
Of course, I want the figures to be bright. Therefore, we use any dyes to choose from:
- Food colors;
- Building eco-friendly;
- felt-tip pens;
- Gouache;
- Nail polish (if you need to use very little).
And in order to make dough with your own hands, and then products from dough, you need tools. Prepare in advance:
- bowl;
- rolling pin;
- Cup;
- Scissors;
- Pen/felt pen.
We will need additional tools. We will talk about this in the next topic, when we look at different ideas for creativity.
Variety of decorating ideas

And a sea of ideas! And also flawless! But do not forget, it is worth considering 2 points:
- Abilities and opportunities crumbs;
- Crafts should relate to the theme of the New Year 2018. So, if not the symbol of the year itself, the Dog, we should succeed, then at least try to make golden colors dominate in our products.
And a lot will depend on what tools we have at hand. In principle, absolutely anything can be a tool! And already on what we own, the decorations of the works, and even their shape, will depend.
Now I intend to call what you can use as a handy tool in the manufacture of crafts, and how the work will depend on it.
Lace. They will give delicacy to the work. One has only to attach them to the dough and hold with a rolling pin.
Buttons. For children, it will be simple and interesting to press buttons into finished products to make an unusual texture.
Beads. They can simply sprinkle the finished work, and everything will immediately shine.
cocktail straw- this is an excellent "hole maker", which turns ordinary crafts into lace ones.
Marker. They can draw any patterns.
Arms, legs, paws. Attach the handle of your little one and make a palm print, the same can be done with the leg if you have a baby - a baby. If your dog does not mind, then the prints of its paws will also look symbolic.
Master Class
And now I will share what I and my crumbs did. And at the same time I will conduct a small master class.
Let's start with our video. In it, we show how to knead the dough, how to sculpt a big owl on the Christmas tree, how to decorate the window in the form of a Christmas tree with dough toys.
And now, as the photo lesson promised: how to make a slightly different owl, hedgehog and snowman.
Do you remember the recipe:
- Flour - 1 tbsp.;
- Salt - 1 tbsp.;
- Water.
Salt is better to take fine. It is cleaner, and it mixes better with flour and water. But I specifically took a large one, because I intend to basically bake all the products. And when baked, coarse salt gives an unusual golden color. As for the water. I didn't say how much you need. It took me half a cup. But it is better to focus on how much the dough will “take”, so that it is not liquid.
I will try to attach a photo for each step.
So the ingredients are:

The dough is tough but very flexible. I divide it into 3 parts.

Of the two, I intend to make figures of a Snowman and a Hedgehog. And I’ll divide the third part in half, and the baby and I roll out the mass and twist two circles with a glass.
I am eager to try how flat owls are made.
And the second part is a Christmas tree toy.

Now I will talk about each craft separately.
Snowman
1. I am making the basis for the snowman. I cut out a circle and decorate it by squeezing out a relief with the tip of a knife.

I divide the remaining mass into 3 parts so that one is large, the second is medium, the third is small.
I twist the largest piece in my palms into a ball. I make a small hole in the middle.

I do the same with the second one. So the whole structure will stand firmly without much fastening.
I stick a thin branch into the middle ball. These are the hands of the Snowman. I put a walnut shell on top. It turns out such a hat.

I make a nose from the tip of a toothpick.

How to paint a snowman I won't put it in the oven. Just wait for the dough to stick to the top with a crust. I have matching nail gels. I use them for painting.

The details remained: mouth, eyes, snowflakes according to the Snowman.
And here's what I got.

Owl
I squeeze the lower half of the circle with a cap from the pen. It turns out a pattern under the feathers.

I fold the edges on the sides so that they touch each other.

I fold the top half of the base in half and bend a little on top.
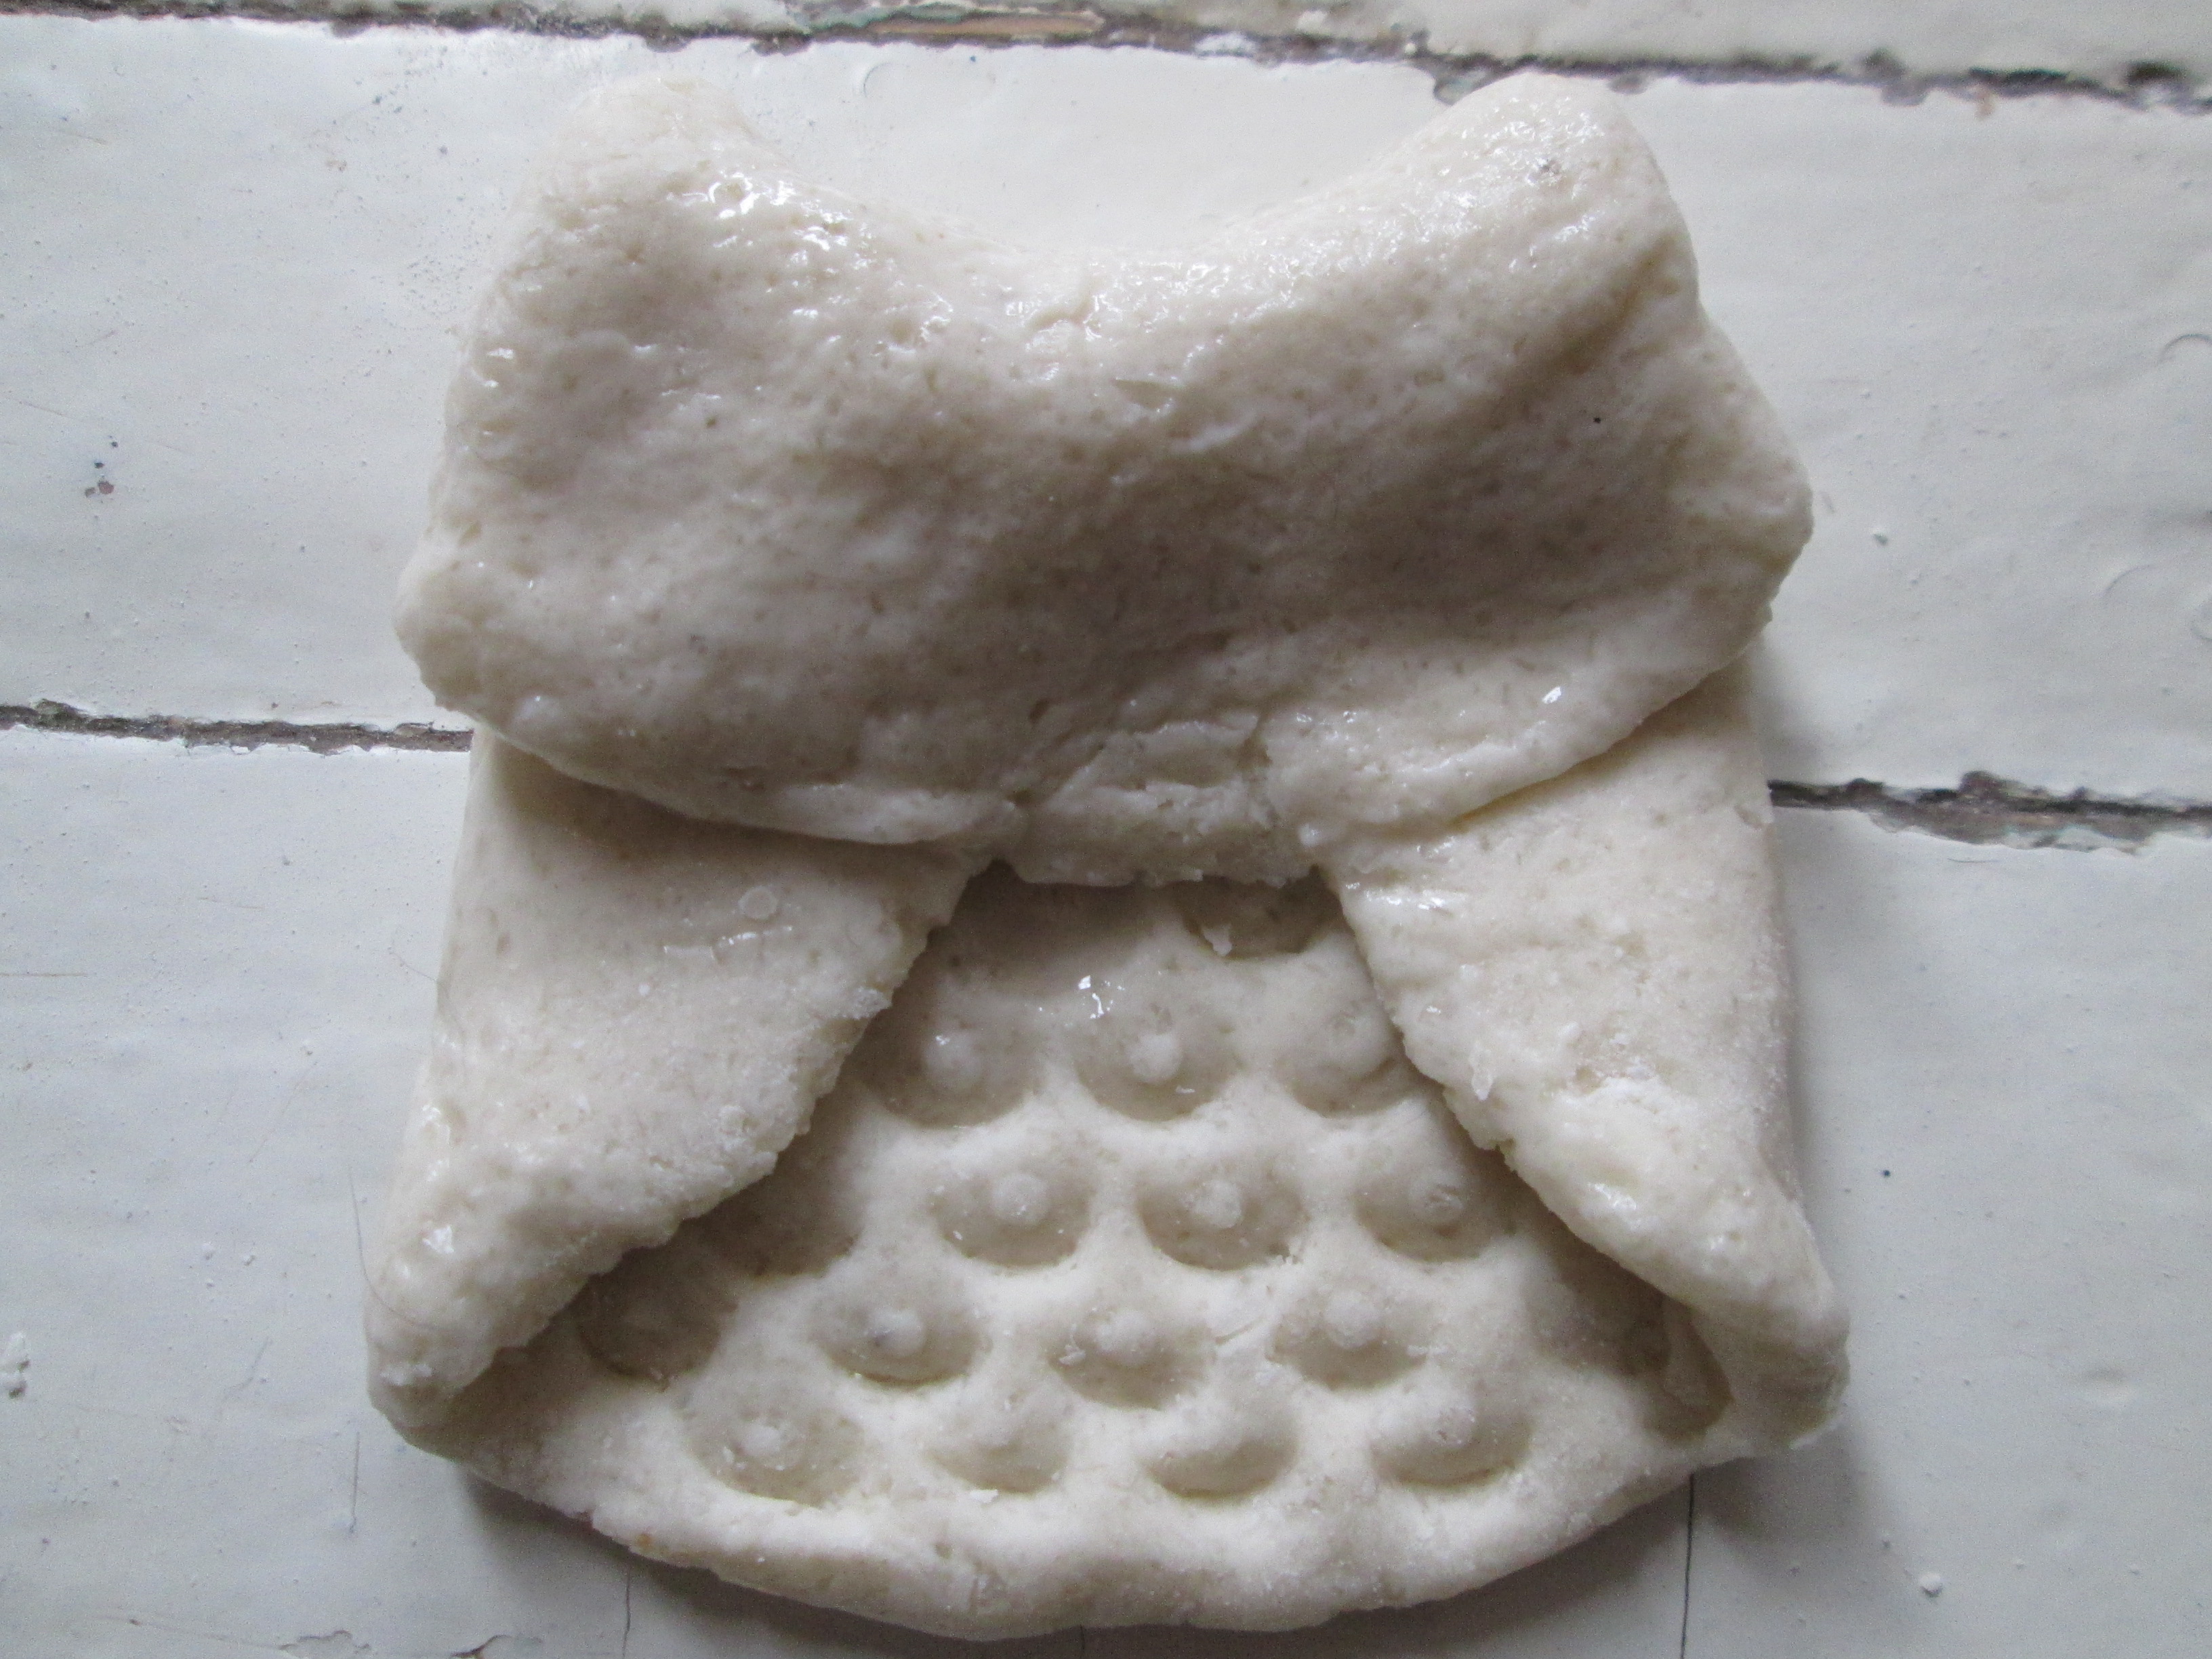
On the upper part I squeeze out round eyes with a cap and draw a beak.
Round the corners at the bottom. I make the "ears" sharper.

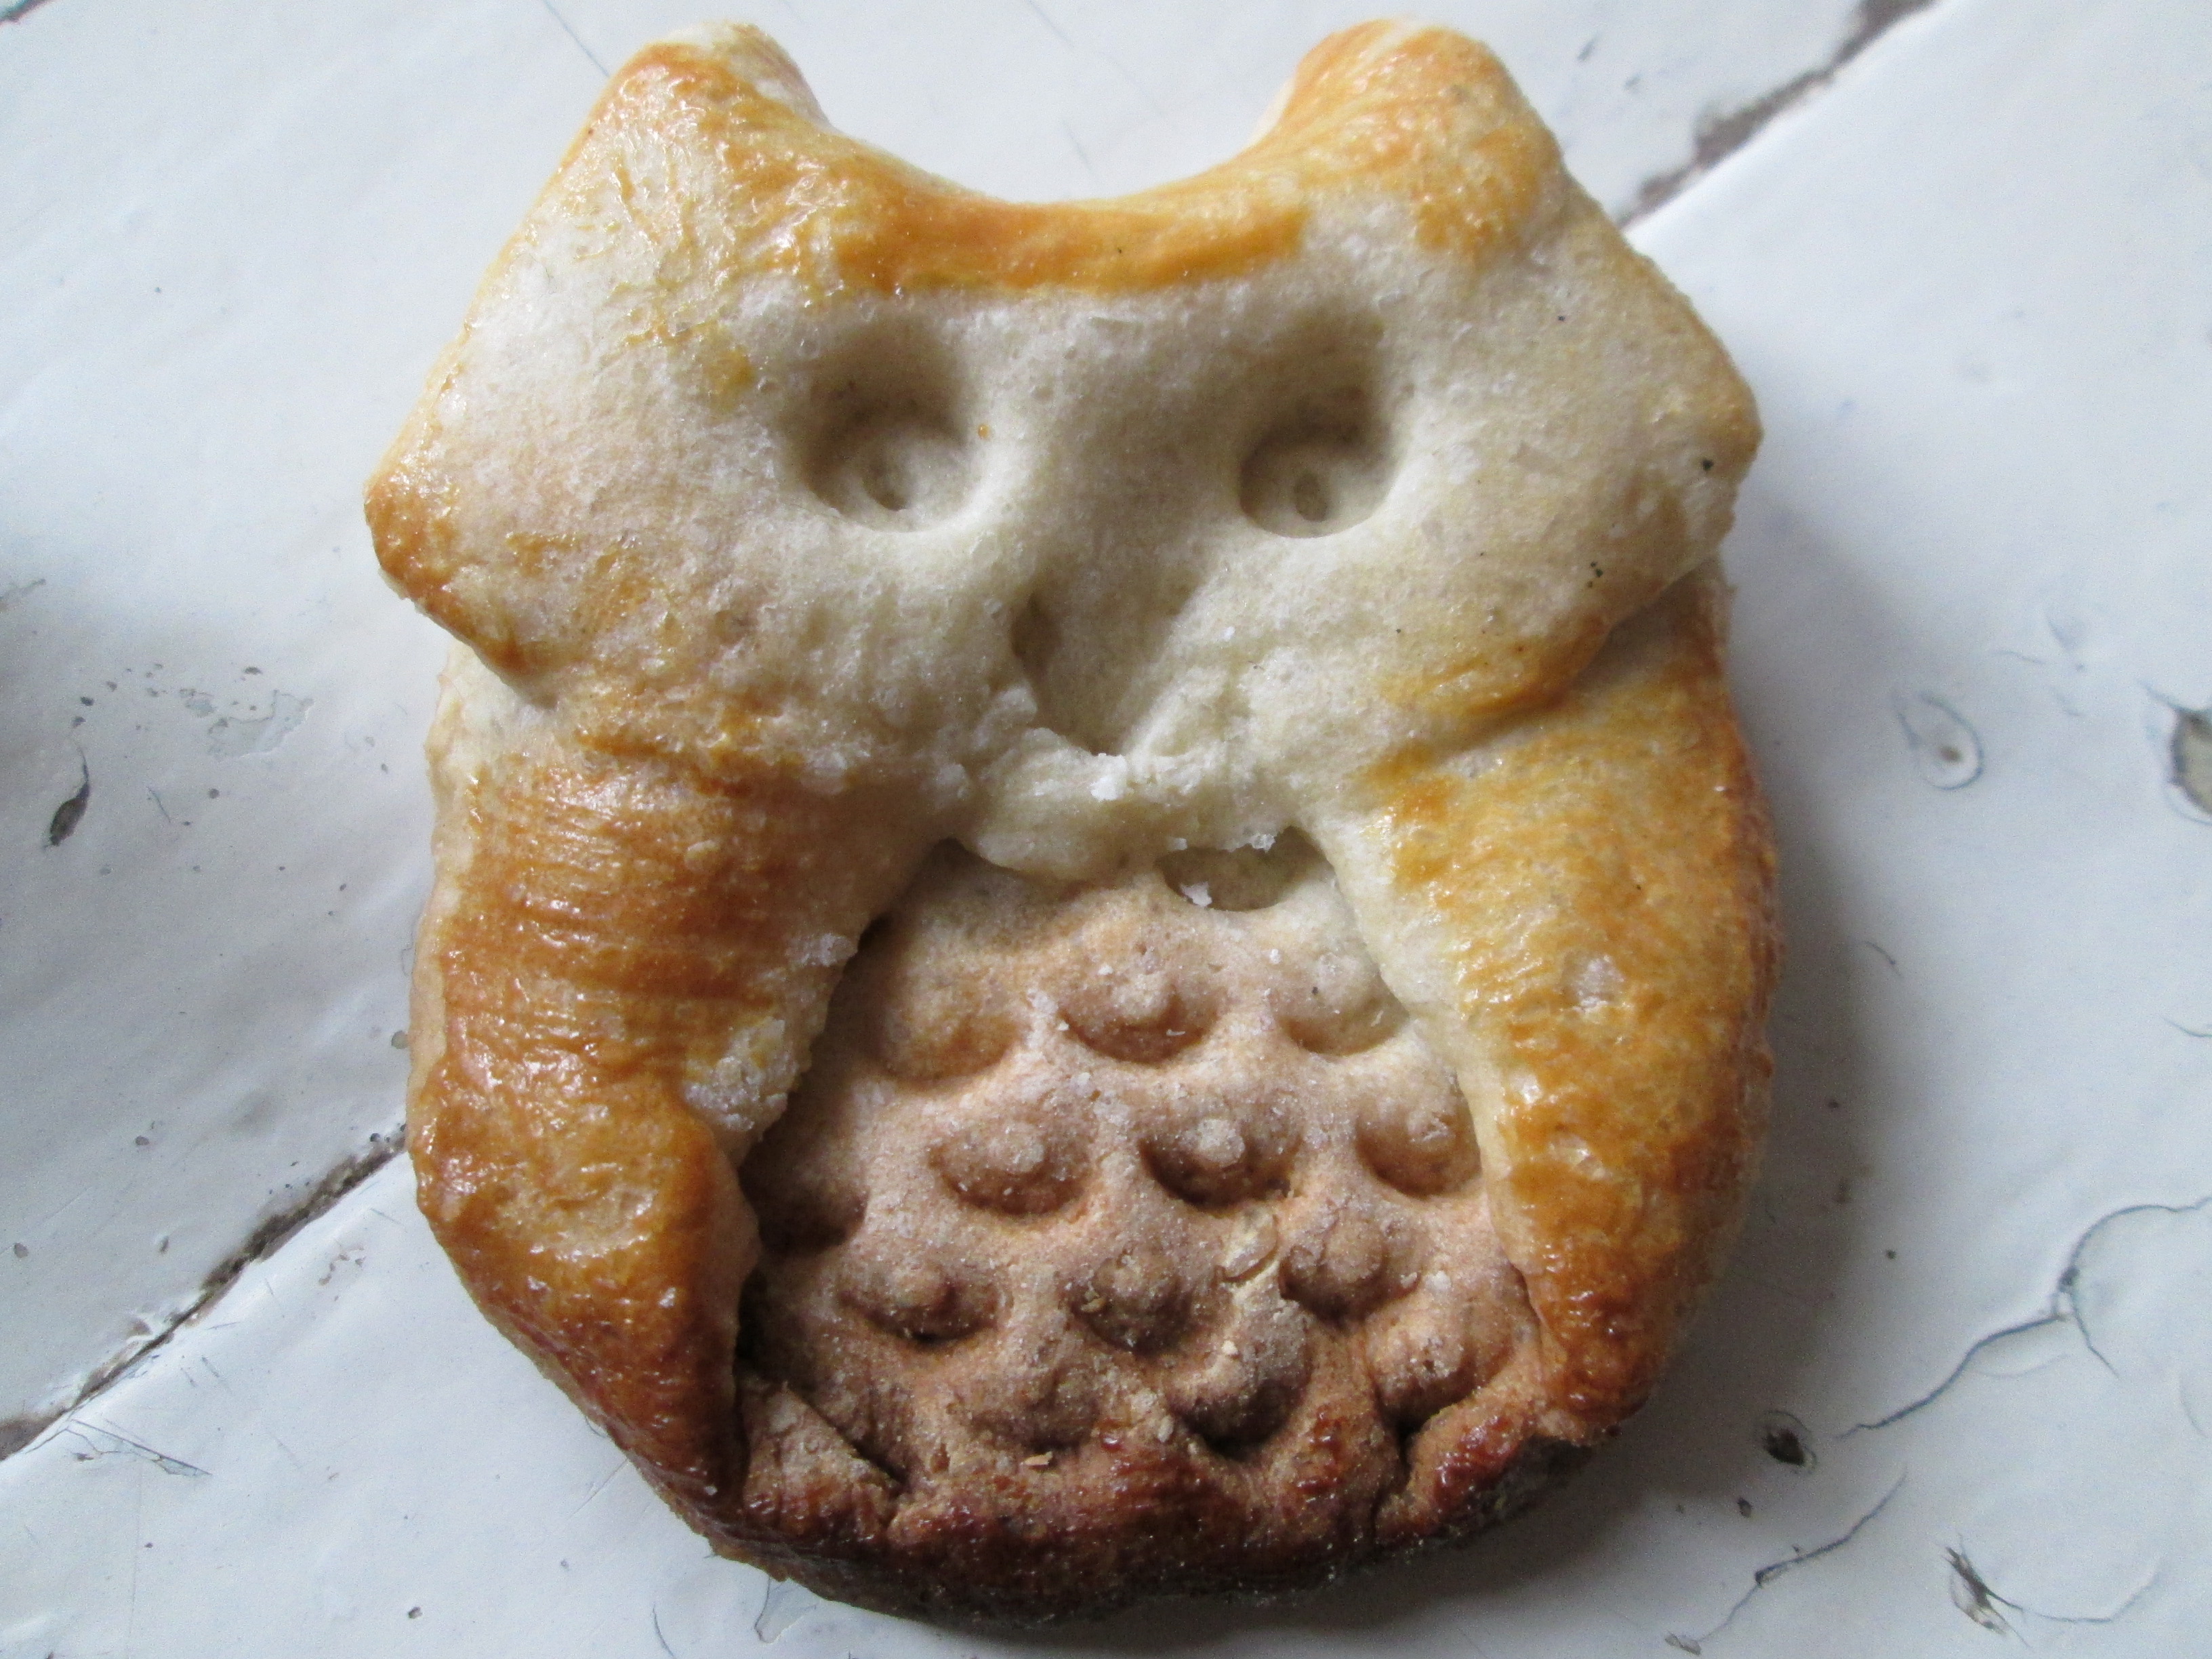
I put it to bake, after lubricating the wings and ears with yolk.

Here is such a golden owl after baking for 7 minutes at 180 degrees.
What else can you make owls?

A toy
I pierce the second round blank from above with a cap through and through. And below I make prints with the same cap.
I put the toy to bake.
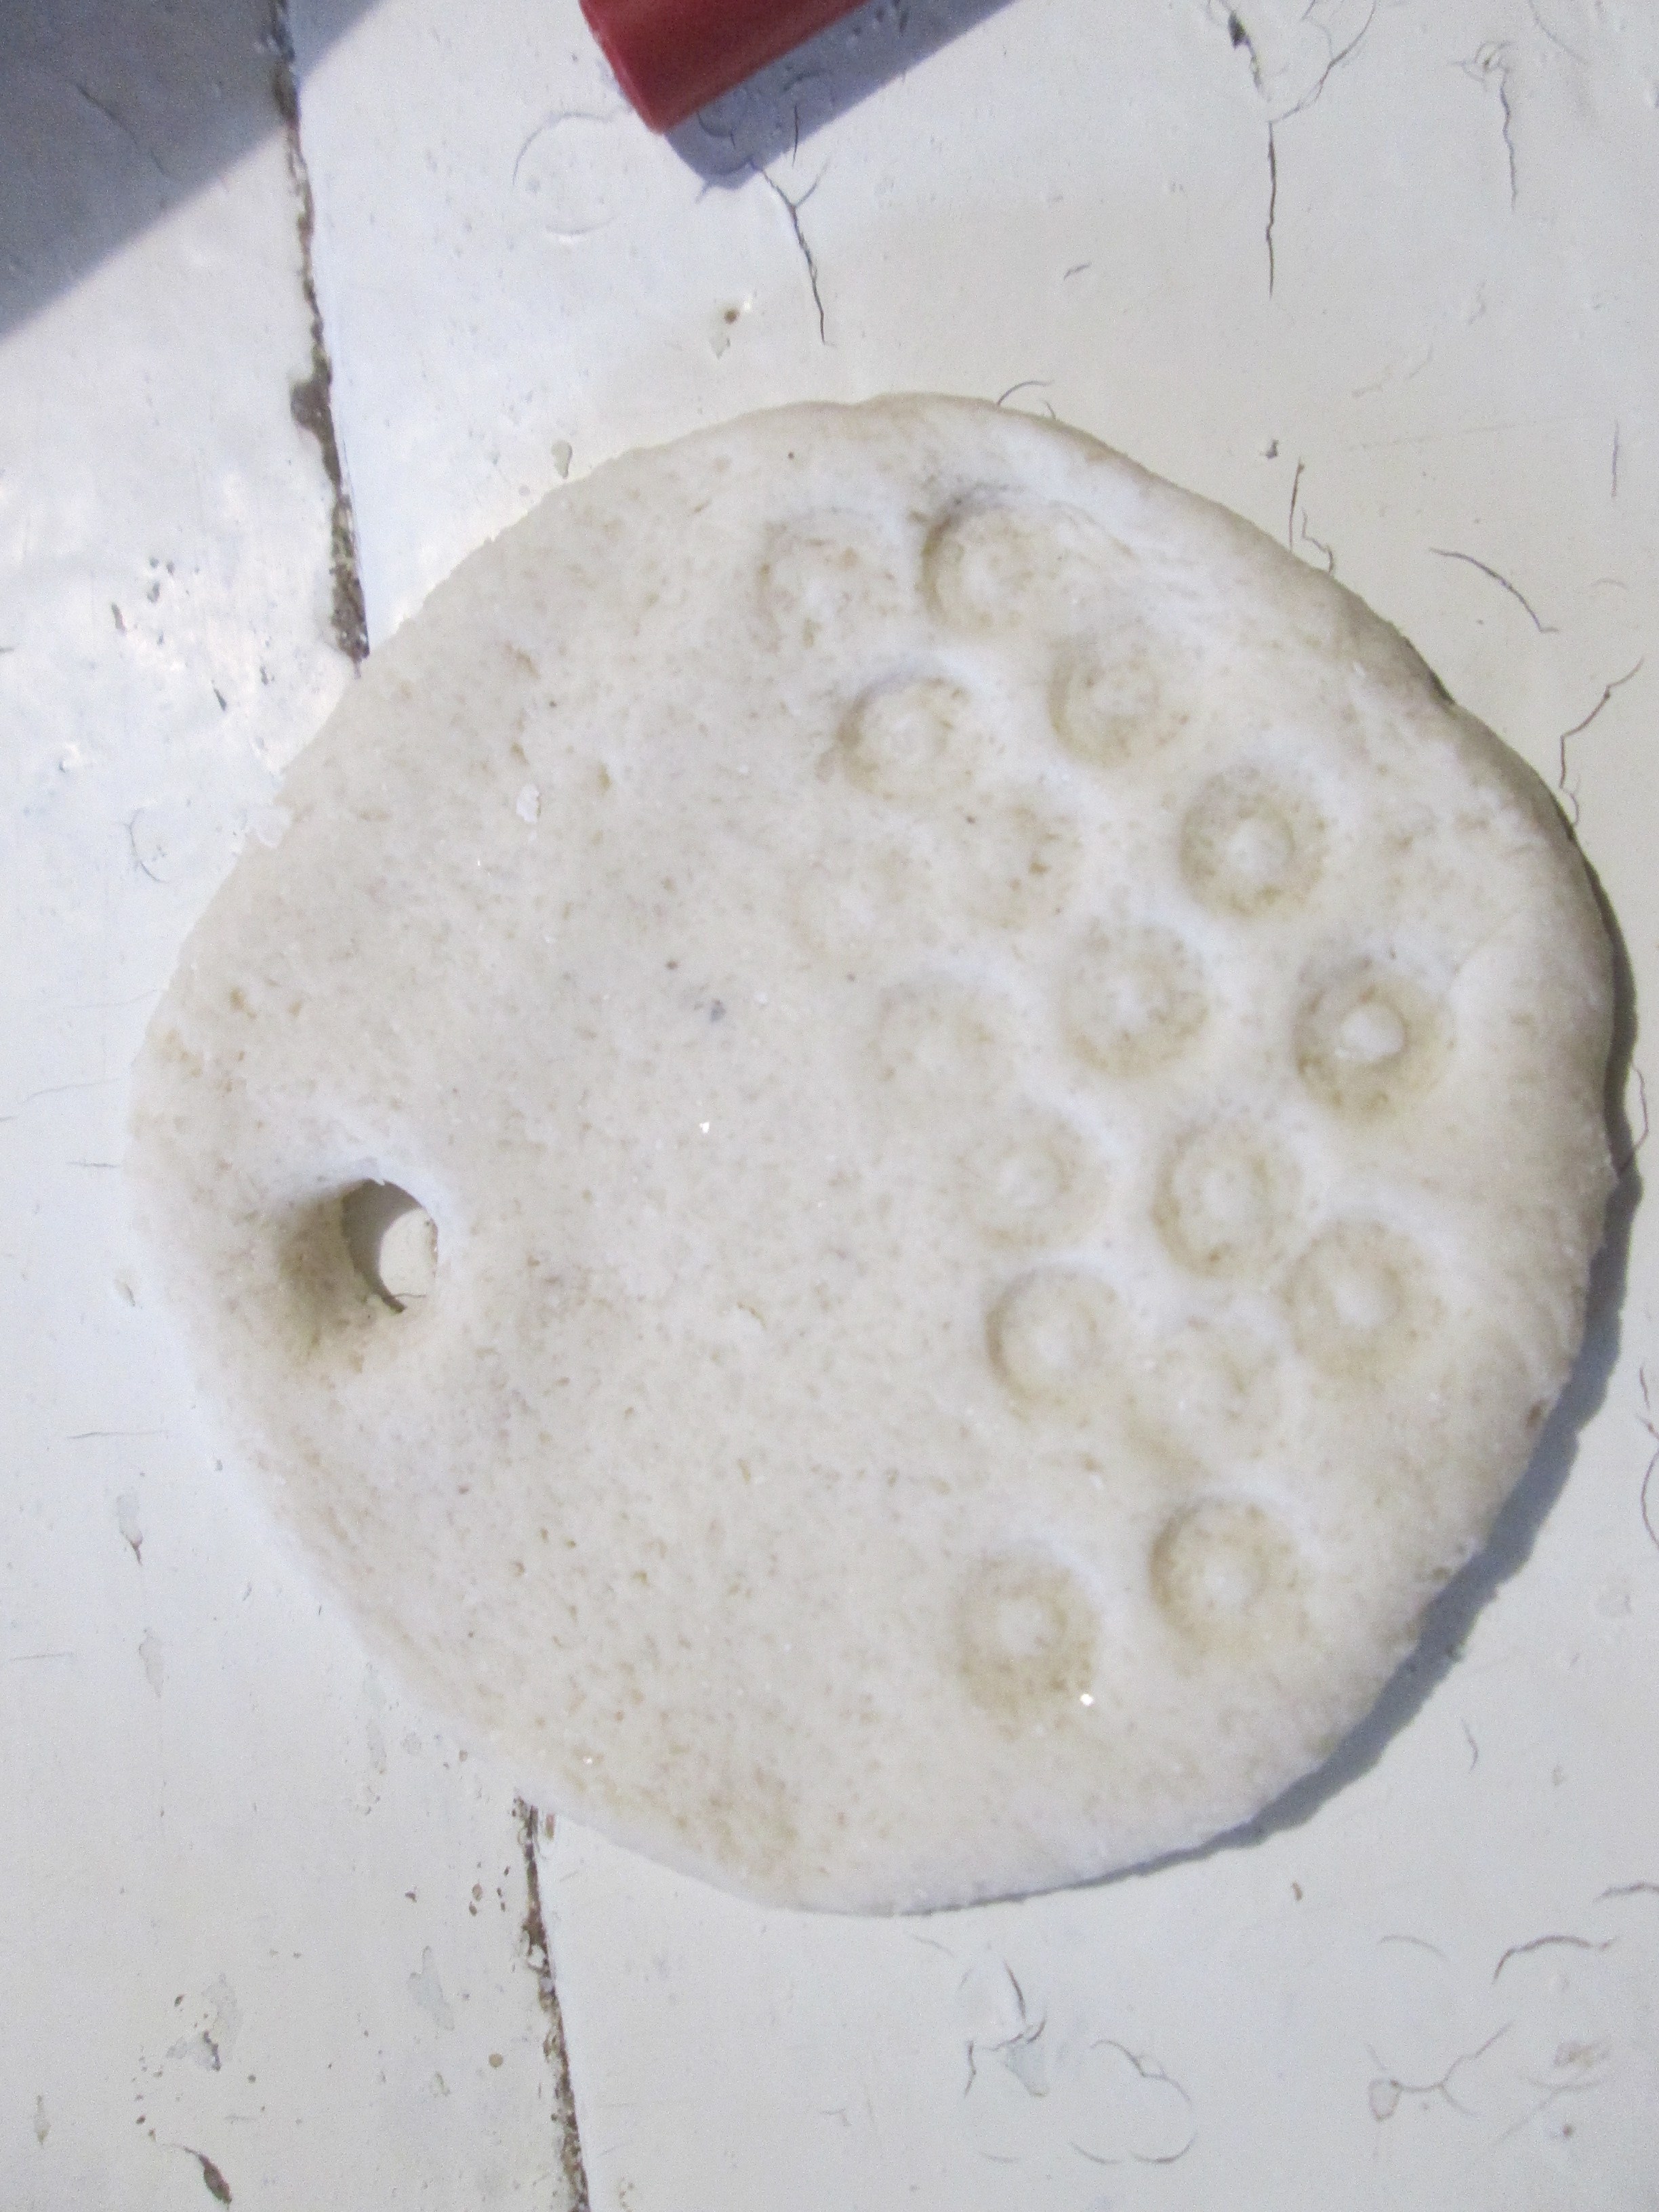
After baking, I put a little red varnish on all the circles, and draw leaves above them. This is mistletoe. It remains to thread a ribbon into the hole and you can decorate the Christmas tree with a toy.

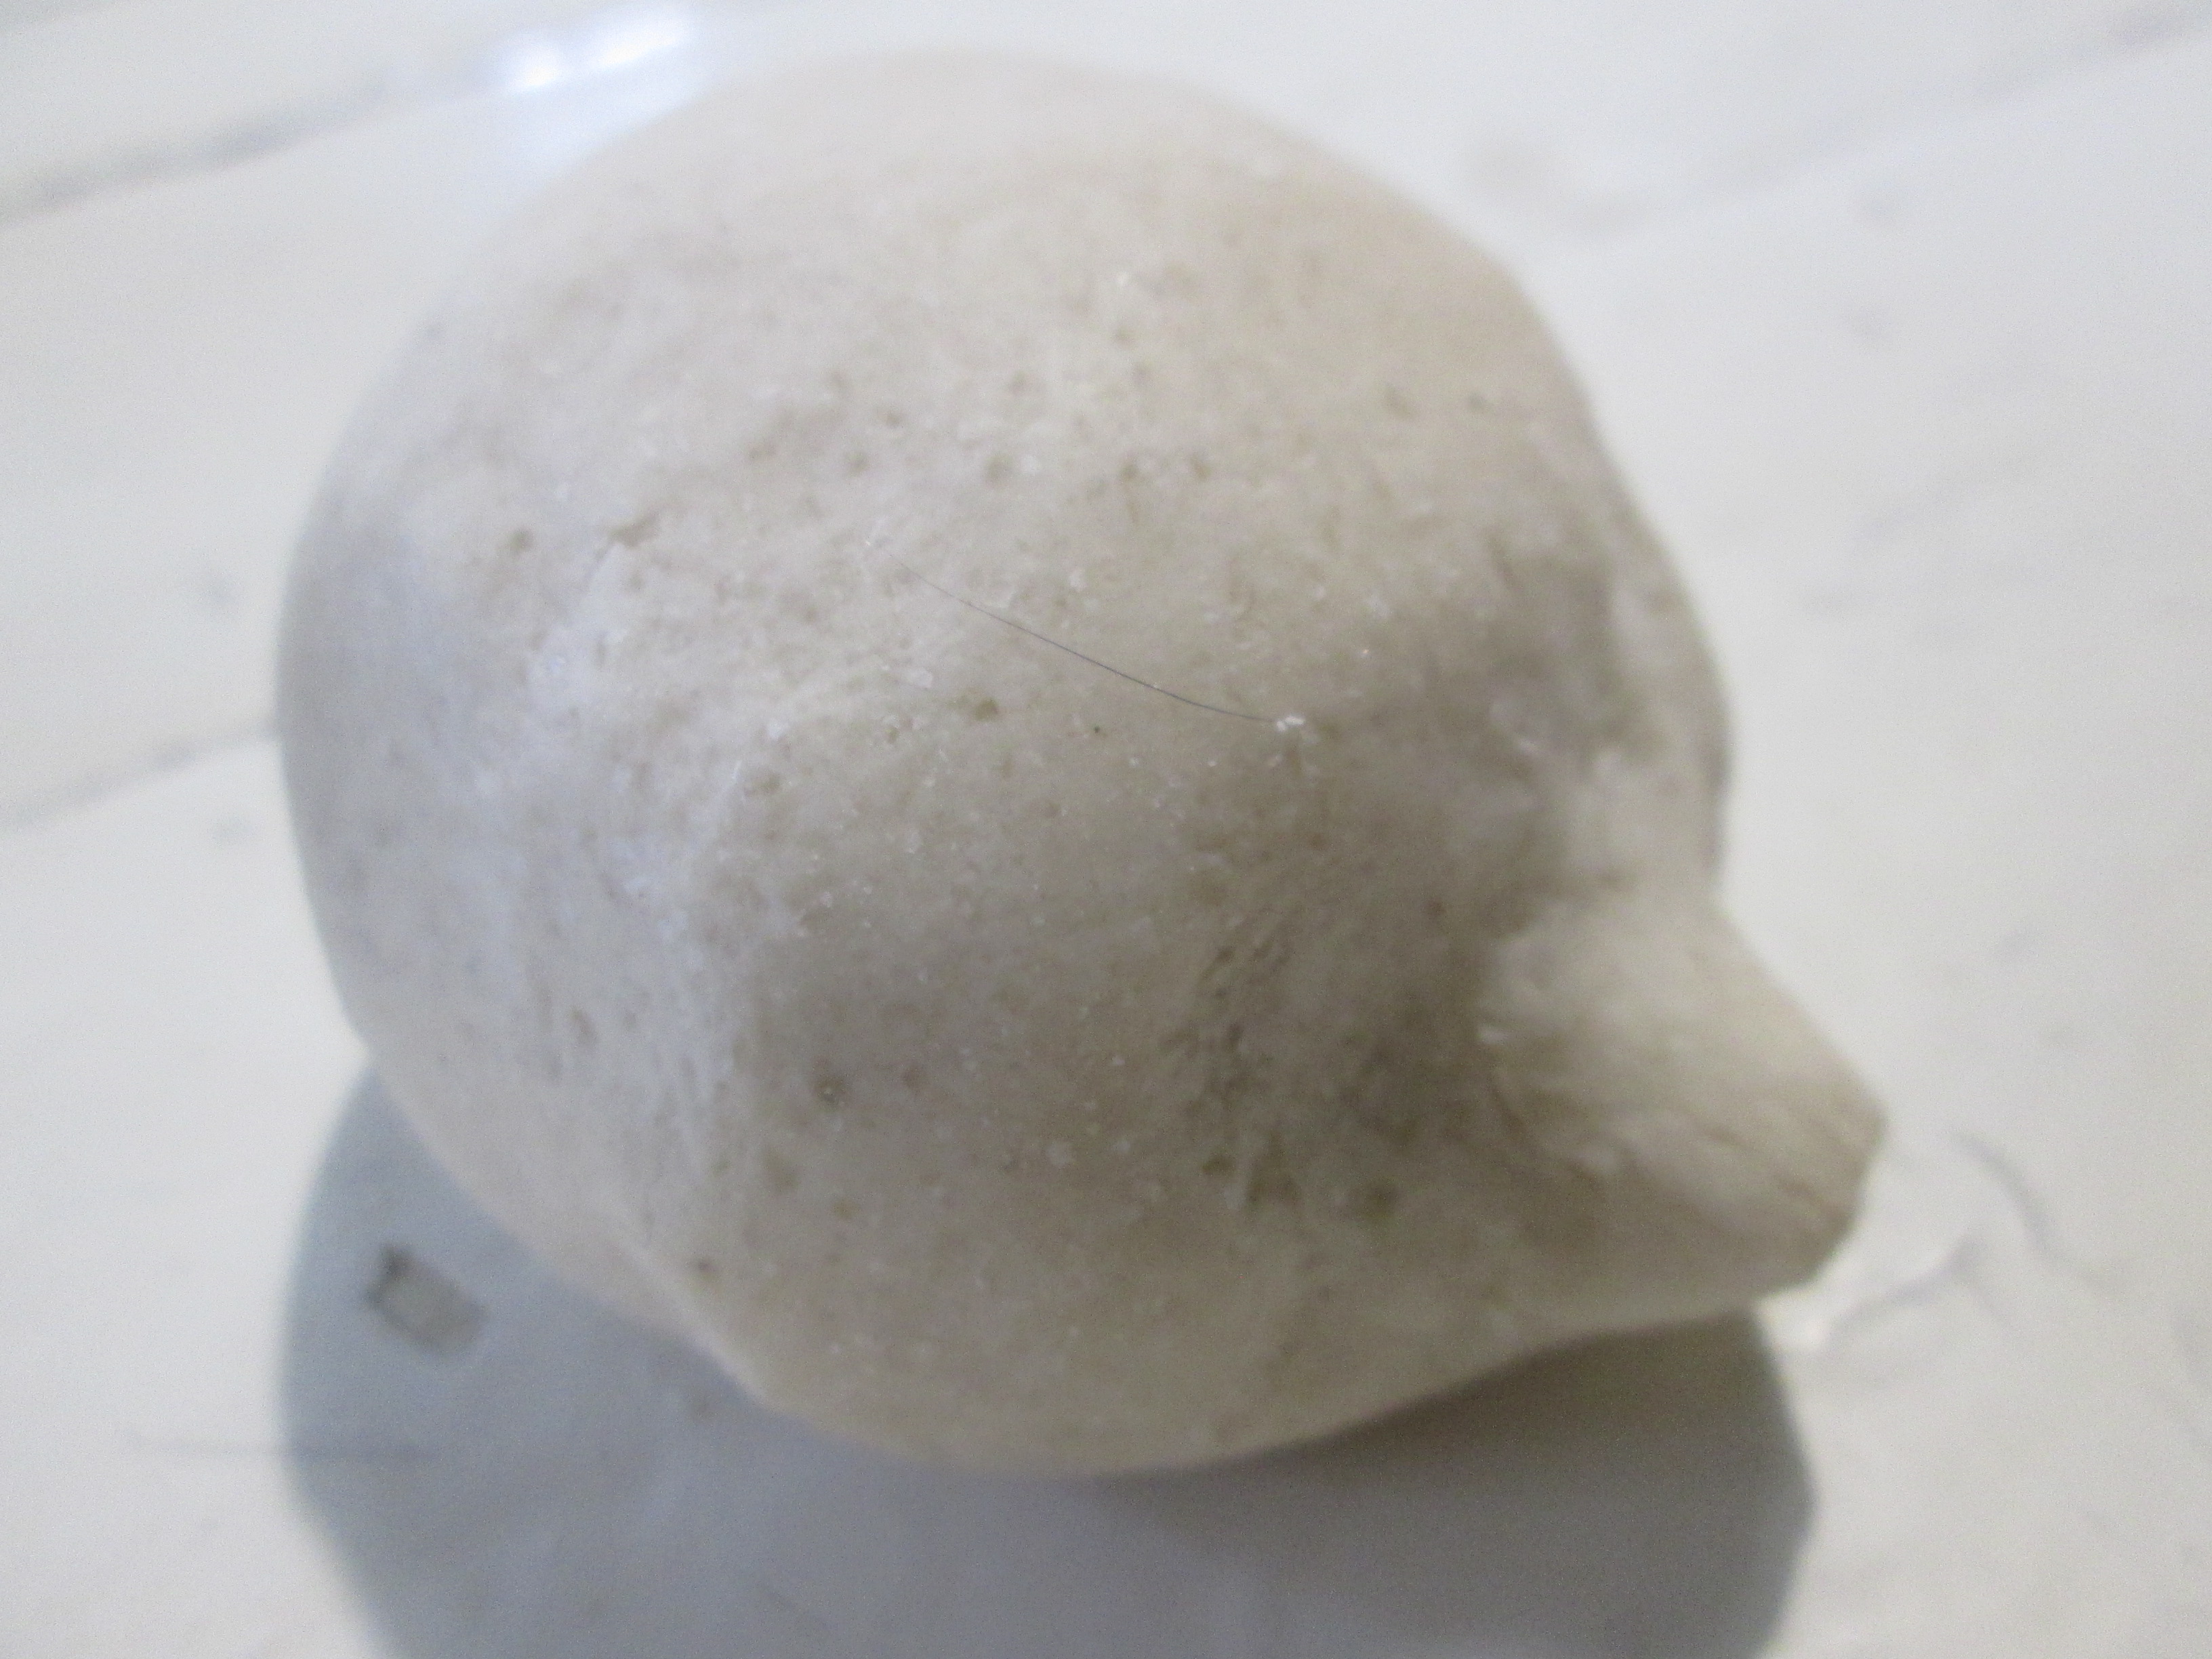
Hedgehog
A small barrel-cylinder rolls down, in which the nose of the future hedgehog is slightly lengthened.
Needles are cut across the body. To do this, you need nail scissors with curved edges.
First, the edges of the scissors are slightly pressed into the dough, then the “needle” is cut.
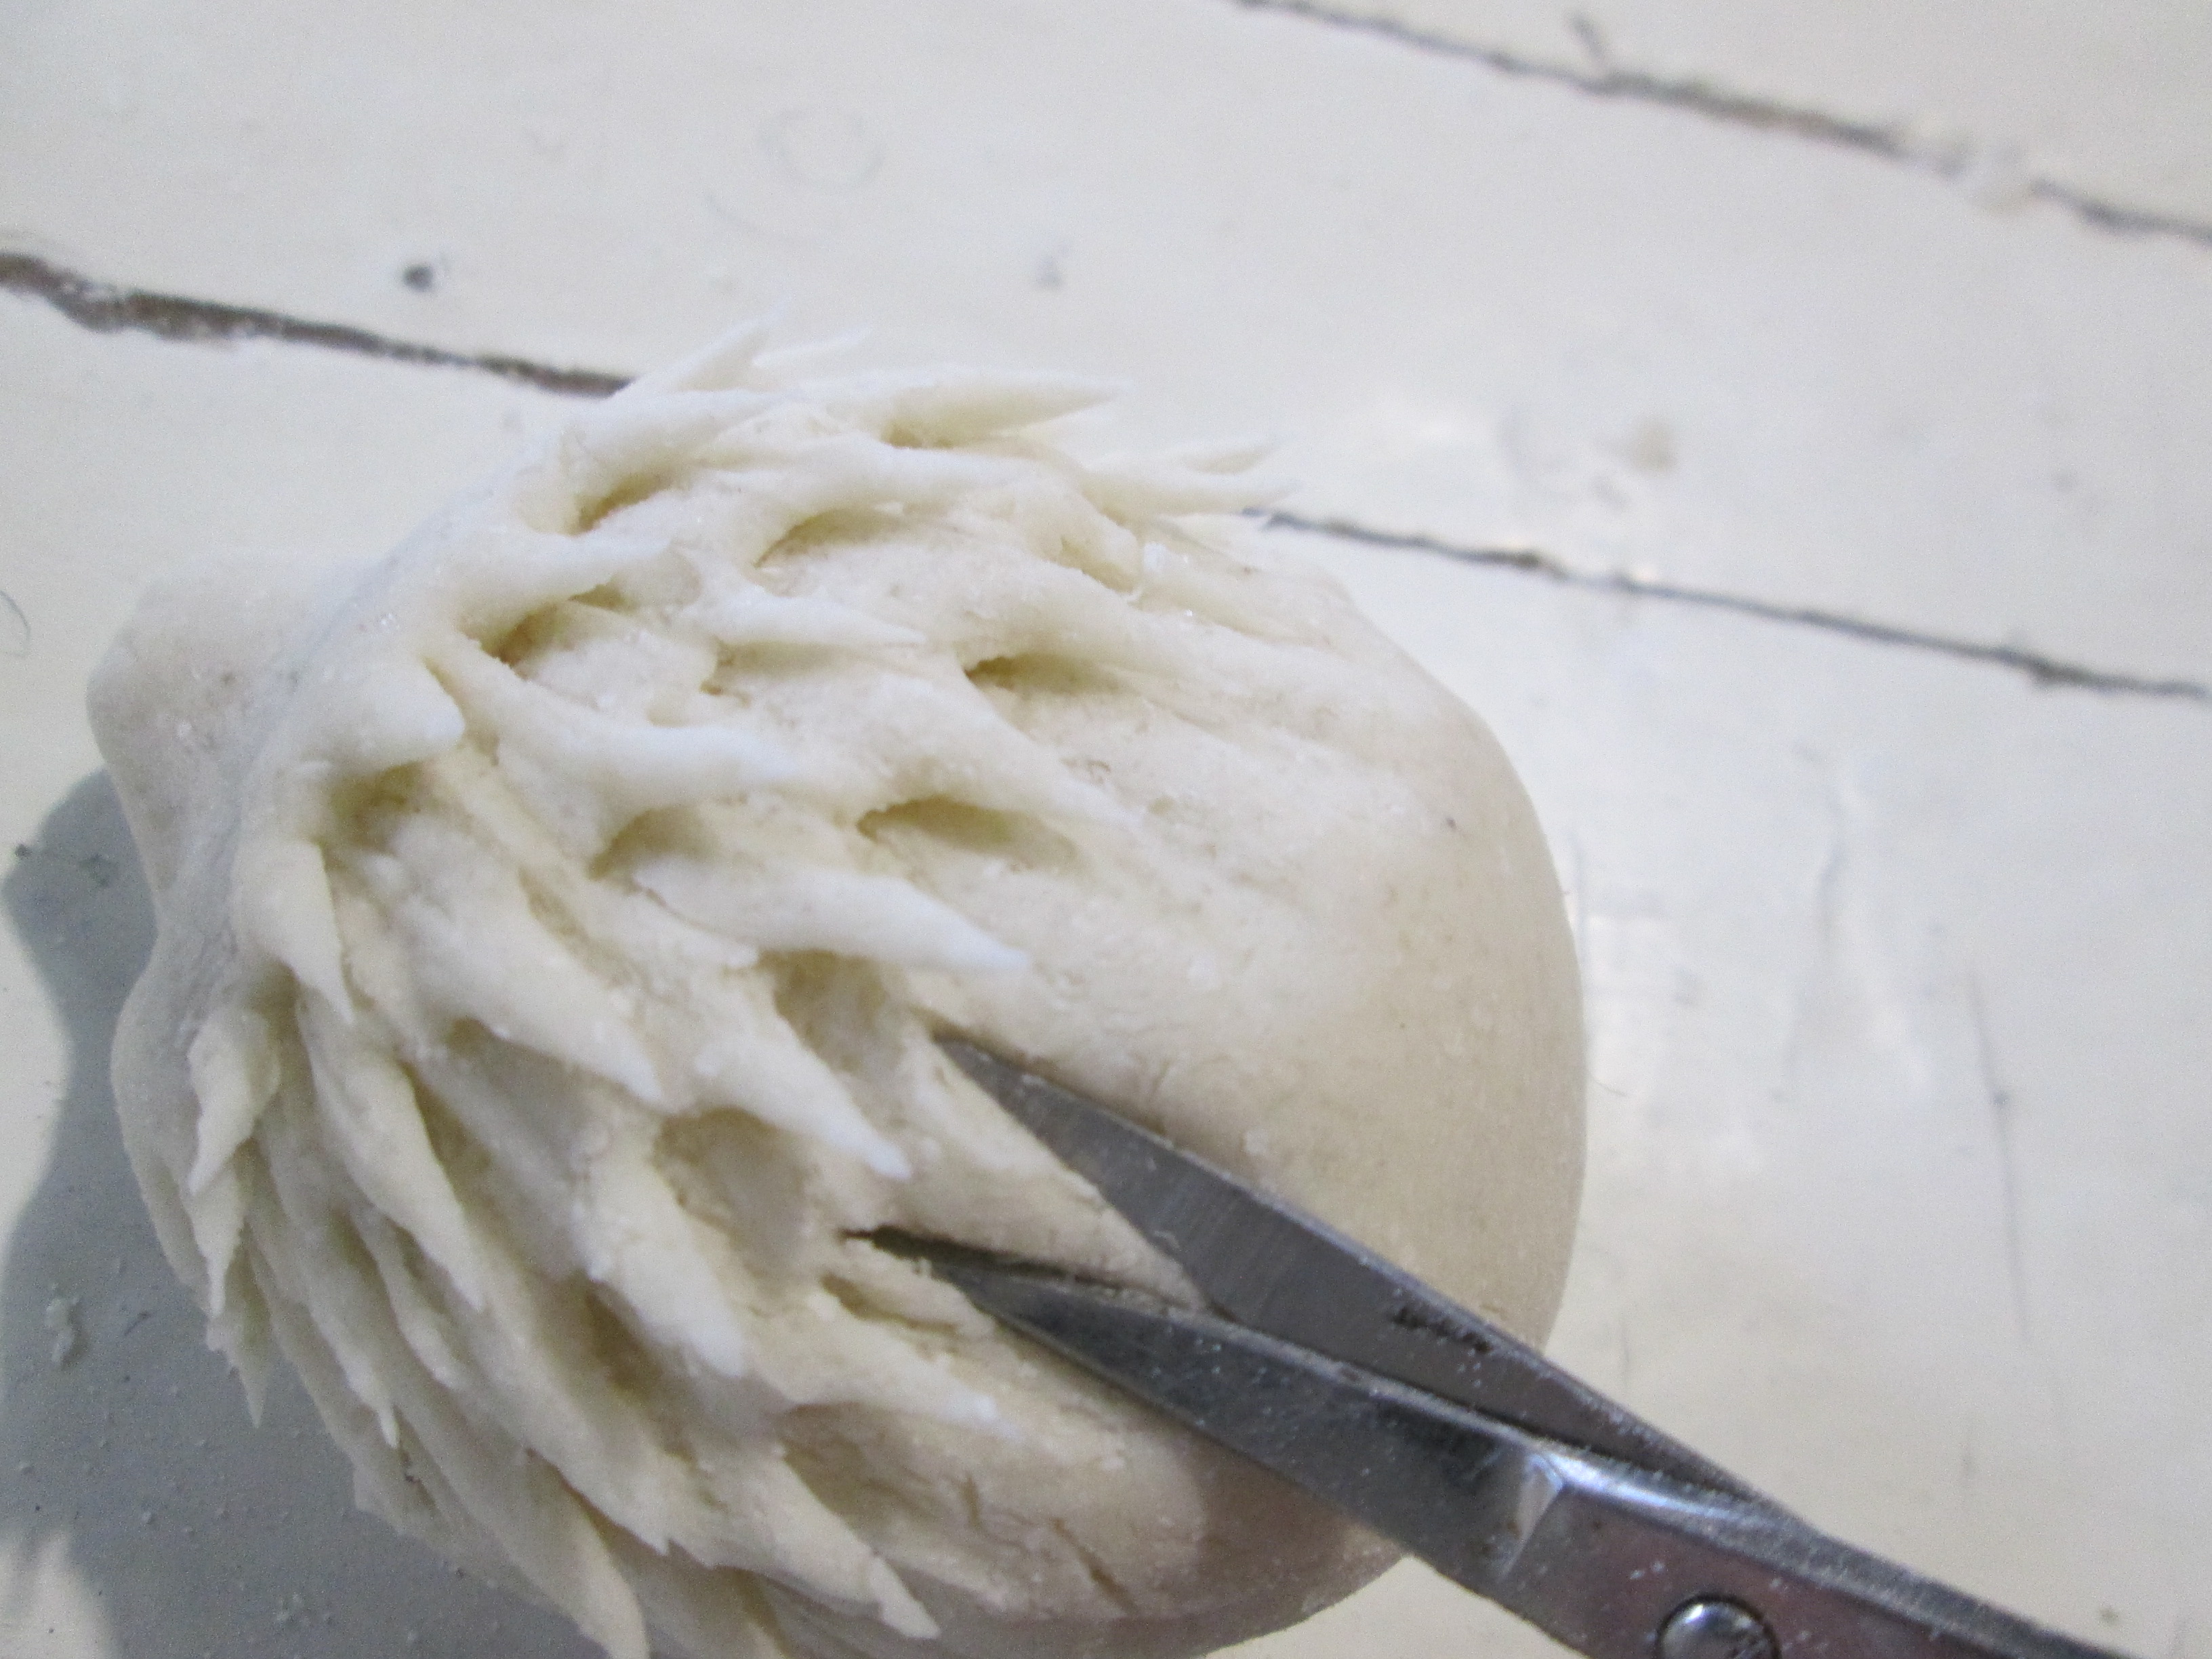
By the same principle, a Christmas tree is made from salt dough: its branches are cut with scissors.
Now go over the muzzle and each edge of the needle with a brush with yolk, and you can send the product to the oven.
After baking, make a nose and eyes by pressing a piece of twig, and the Hedgehog with golden needles is ready!

That's how it turned out to make 4 toys with the baby!

Vmdeo master classes
Highly! I really want you to show off your work! Send the results of your work, share your successes, so that we can rejoice for you! And that's all for today! I remind you about the subscription and please don't forget to bring your friends: it's more fun together! All! Bye Bye!
Most people associate this holiday with magic and fun. Decoration Christmas tree in many apartments it turns into a real ritual, in which all family members, including the smallest household members, take part. In order to make it more interesting for kids to prepare for the holiday, they can be offered to make New Year's toys from salt dough with their own hands. Such decorations will look original on the forest beauty and, most importantly, they will be completely unique. Creating toys is best for the whole family - this is a great way to have fun and usefully spend free time, introducing the younger generation to creativity.
Salt dough preparation methods
To make Christmas decorations beautiful and durable, you need to properly make the dough for them. There are several options for its preparation. For the first method you will need:
- flour - 1 cup;
- salt - 1 cup;
- vegetable oil - 1 tablespoon;
- cold water - about 125 ml (its volume depends on the quality of the flour).
The dough is kneaded from the prepared components. It should be elastic and plastic. The resulting dough is covered with cellophane and placed in the refrigerator for at least 3 hours. After that, it can be used to make Christmas tree decorations.
There is another recipe by which you can make salt dough. Christmas toys from such material will be distinguished by increased strength. For him, you need to prepare:
- flour - 1 cup;
- salt - 2/3 cup;
- PVA glue - about 15 ml;
- cold water - 100 ml.
The dough, as in the first version, after mixing all the components, should turn out to be quite elastic and keep its shape perfectly. Water must be mixed into the mass in small portions, making sure that it does not turn out to be too rare. Salt dough prepared in this way hardens quickly, so it should be used immediately after kneading.

Necessary tools and decor elements
To make New Year's toys from salt dough with your own hands, in addition to the raw materials themselves, you will need to prepare a convenient wooden board on which the entire creative process will take place. You will also need a rolling pin, a plastic plasticine knife, curly molds, acrylic paints and several brushes of different thicknesses. For decorating crafts, you can use everything that is found in the house (for example, beads, beads, sequins or rain).
The process of making toys
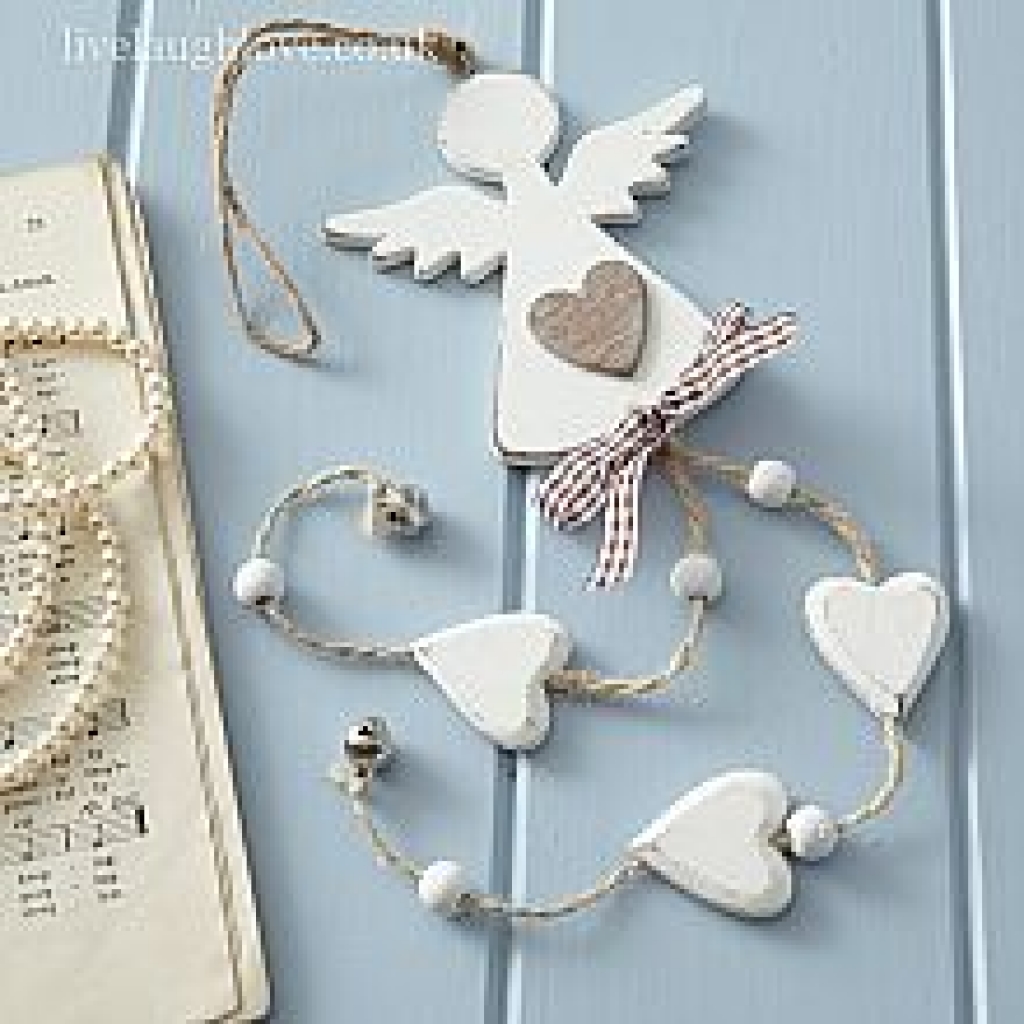
Having prepared everything you need, you can start creating masterpieces from dough together with your child. The easiest way is to make flat figures using molds. It can be stars, hearts, Christmas trees, angels, the contours of various animals, etc. To make such toys, you need to roll out the dough on a board (it should be from 0.6 to 1.5 cm thick), and then cut out different figures from it using the prepared molds. The more crafts you get, the better. Since the toys will be hung on the Christmas tree, you need to remember to make holes in them (for this purpose, it is most convenient to use a toothpick or a match).
The finished figures are dried for one hour in an oven heated to 80 degrees, or on a hot battery. You can let the Christmas tree decorations dry on their own by spreading them out on a piece of parchment paper and leaving them on the table, but in this case they will harden for several days.

If there are no molds in the house, there is no need to despair. Funny New Year's figurines can be cut out of rolled out dough with an ordinary plasticine knife. In all other respects, the process of their manufacture is no different from the method described above.
Decoration of figurines
Salt dough Christmas toys should be painted after they are completely dry. They can be covered with one or more colors, draw funny faces and patterns on them. To keep beads, buttons, bows and other decorative elements firmly on the products, it is best to fix them on the surface with PVA glue. When the paint and glue on the toys dry, colored ribbons are threaded through them. Unusual and very beautiful new Year decoration handmade are ready. They can be hung on the Christmas tree with the child.

Important nuances
There is nothing easier than hand-made New Year's toys from salt dough. A photo Christmas decorations presented in this article is only a small part of what can be made from this plastic material. Modeling toys, like any other kind of creativity, requires imagination. Salt dough is a versatile material, and you can create figures for a Christmas tree of any complexity from it. However, it is worth remembering that they should not be too thin or excessively thick, because in the first case, the products will come out fragile and break quickly, and in the second, they will turn out to be heavy and will pull the spruce branches down.
My kids love to watch Fixies. And after watching a series about Claudel Models, they came to the kitchen with a question:
- Mom, can we make plasticine? To do this, you need only one glass of flour, half a glass of salt and half a glass of water. That's what they said on the fixes.
I could not refuse such a creative work, and the process went at full speed. It was before the New Year, so the theme of the toys is New Year's.
Christmas, New Year's toys from salt dough - children's master class:
 1. First of all, the children kneaded the dough on their own. Mixing all the ingredients in a bowl. The proportions were taken exactly as the Fixies said:
- 1 cup flour
- 0.5 cup salt
- 0.5 cups of water
 2. Then they rolled out the dough into a cake.
 3. While the children were rolling out the dough, I prepared a Christmas tree-shaped paper stencil for them. This stencil they very diligently circled and cut out with the help of stacks.
 4. In the process of making Christmas decorations from salt dough, I remembered cookie cutters. The children really liked this idea, and they quickly made different figures from the dough: bells, Christmas trees, cones, stars, etc.
It is easy to work with molds and the result is always pleasing, so in this version this activity is suitable even for children from 3-4 years old.
 5. We also tried to make colored salt dough by adding watercolor paint to it. To do this, simply dripped a little water into the paint, stirred it with a brush and poured the colored water into the dough. This was also mentioned in the cartoon.
 6. All the figurines were left to dry near the battery for the night.
 7. And in the morning, the children did not have time to wake up completely, they were already rushing to their New Year's toys from the dough to decorate them. Painted with simple watercolors. Also in my bins, I found some rhinestones - they are great decorated Christmas decorations.
To make the paint dry faster, the eldest son turned on the fan and sent a stream of air to the painted toys. Painted on both sides.
 8. When the paint was dry, the children were happy to decorate the Christmas tree with their New Year's toys from salt dough.

 9. It turned out very nice. And the manufacturing process was pleasant and joyful. This year, our Christmas tree is beautiful in a special way, because almost all the toys on it are made by hand.
And I wish you pleasant creativity with your children.
Subtleties in the manufacture of Christmas tree decorations from salt dough:
1. It is better to take salt for the dough with fine grinding so that there are no salty grains on the finished figures.
2. Sculpt with children Christmas decorations from salt dough, it is better on a large table, where there will be nothing superfluous. After the figurine, it is better to immediately put it on a large flat dish or a piece of thick cardboard, so that it is easier to transfer to a drying place. For example, on the window or next to the battery. If you dry in the oven, then the figures must be immediately folded onto the enemy, covered with foil.
3. New Year's toys from the dough can be solid, or from several components. The parts stick together well if they are lightly moistened with a wet brush.
4. To make holes in toys, you can use the desired diameter of pasta, pen caps, cocktail tubes and any other materials at hand.
5. You can paint salt dough with food coloring, gouache, watercolor, acrylic, glitters (shiny paints).
7. You can dry salted Christmas toys:
- just at room temperature (but this may take 2-4 days).
— near the battery (1 night for flat figures)
- in the oven at 50 gr. (several hours)
Christmas decorations can be made not only from dough, but also, etc.